Using the Stripe Dashboard in the EHR
The Stripe Dashboard within EHR lets you view and manage key Stripe account details—such as notifications, account settings, payments, payouts, disputes, and tax settings—without leaving the system.
STEPS
- Step 1 — Open the Stripe Dashboard
- Log into the EHR.
- Go to Administration → Billing Setup → Stripe Dashboard.
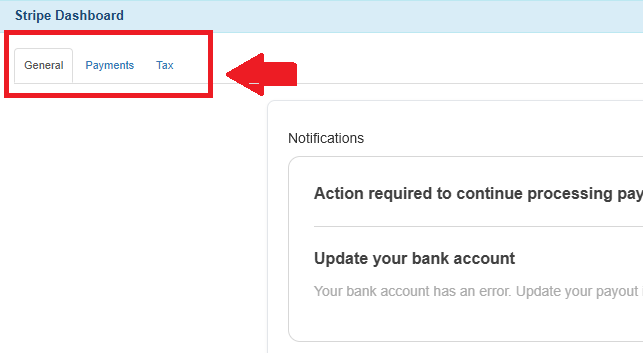
- When the dashboard loads, you will see three main tabs:
- General (Notifications, Account Management)
- Payments (Payments, Payouts, Disputes)
- Tax (Tax Settings, Tax Registrations)
→ Use the tabs at the top to switch between sections based on what you need to review or manage.

- Step 2 — Review the General Tab
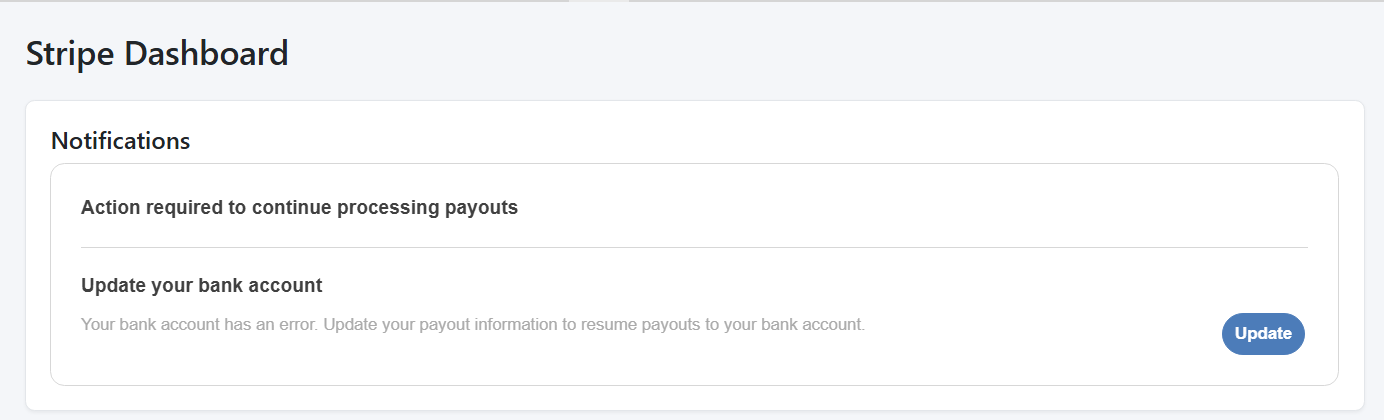
Notifications
The Notifications section displays important updates from Stripe, including:
- Payment failures
- Verification requirements
- Account alerts
- Payout delays
- Bank account or payout issues requiring updates
→ This is the first place to check if any action is required.

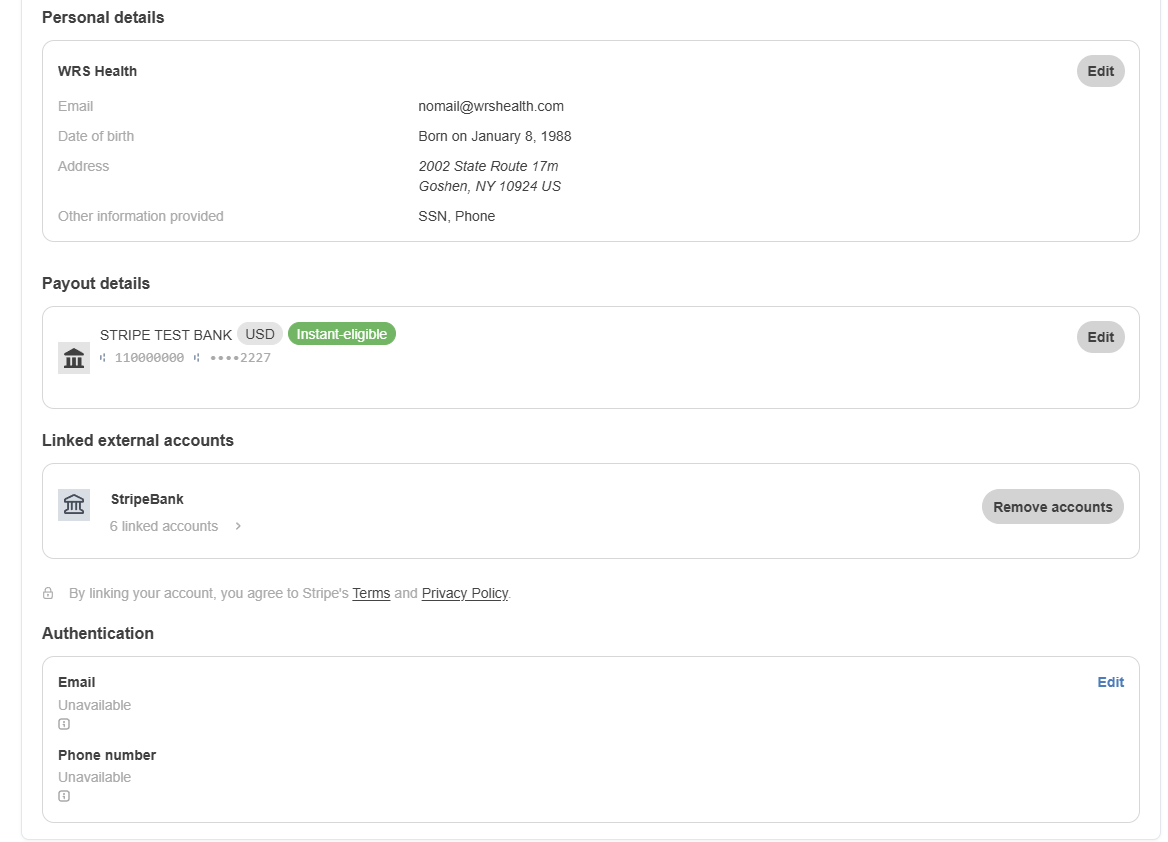
Account ManagementThe Account Management section provides access to and allows management of:
- Business or practice information
- Personal and professional details
- Payout details
- Linked external accounts
- Authentication and security settings
Note: Management access is subject to your user role, permission level, and Stripe’s compliance and verification requirements. Some fields may be read-only.

- Step 3 — Reviewing Payments tab
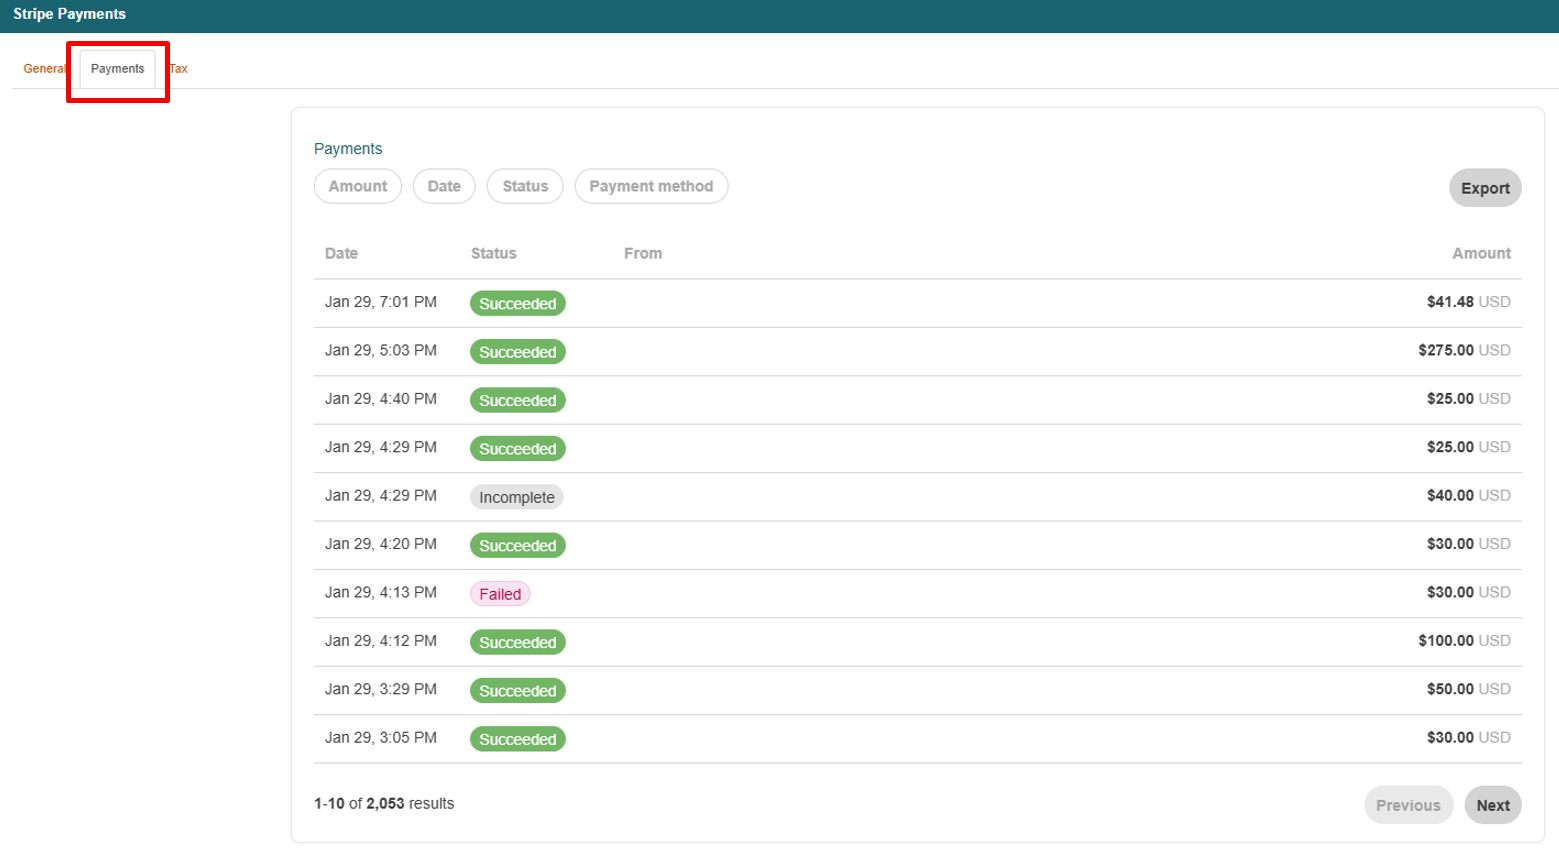
Payments
The Payments section shows all transactions processed through Stripe. You can view:
- Successful payments
- Failed or refunded transactions
- Patient or payer details
- Payment amounts
- Dates and payment methods
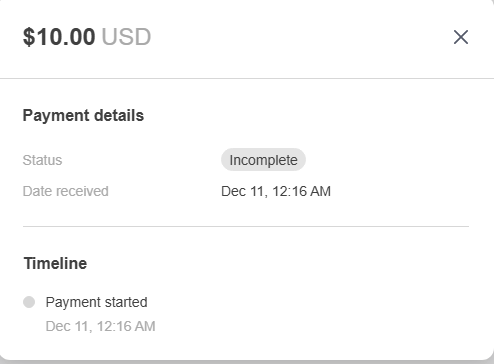
→ Use this section to track revenue, confirm processed charges, or investigate payment issues. Click any payment to view a detailed transaction timeline, including fees and balance impact.

→ Click into any payment to see a full transaction timeline, fees, and balance impact.

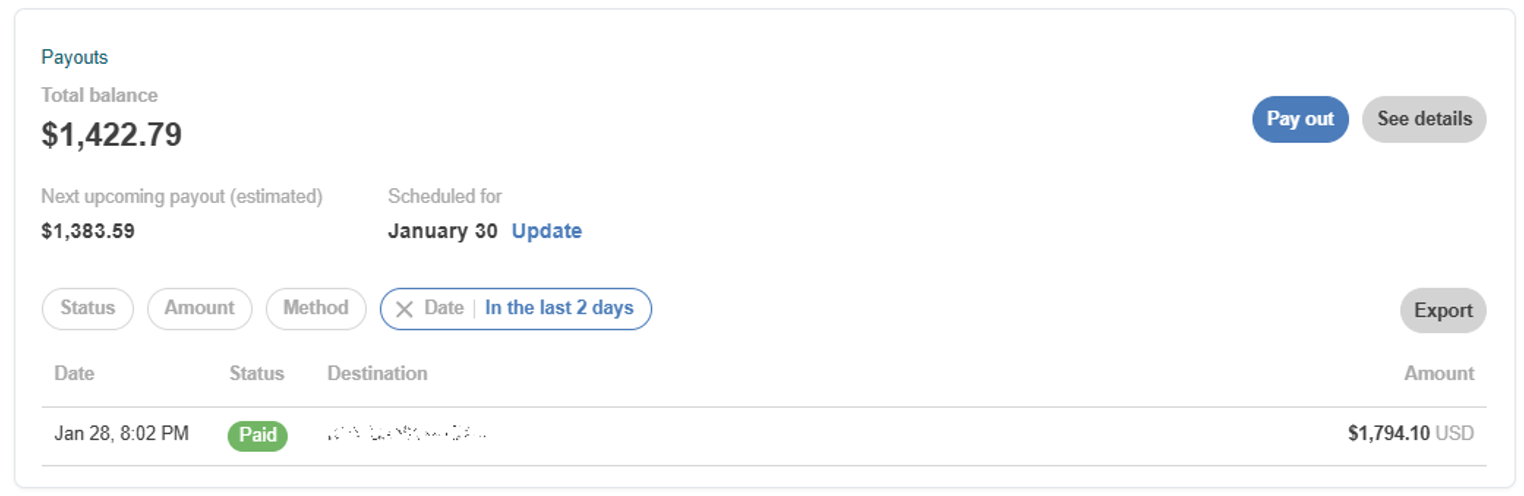
PayoutsPayouts represent transfers from Stripe to your bank account. You can review:
- Upcoming payouts
- Completed payouts
- Amounts included in each payout
- Estimated arrival dates
→ Use this section to understand cash flow, reconcile deposits, and monitor when funds are expected to arrive.
→ Click a payout entry to view details.

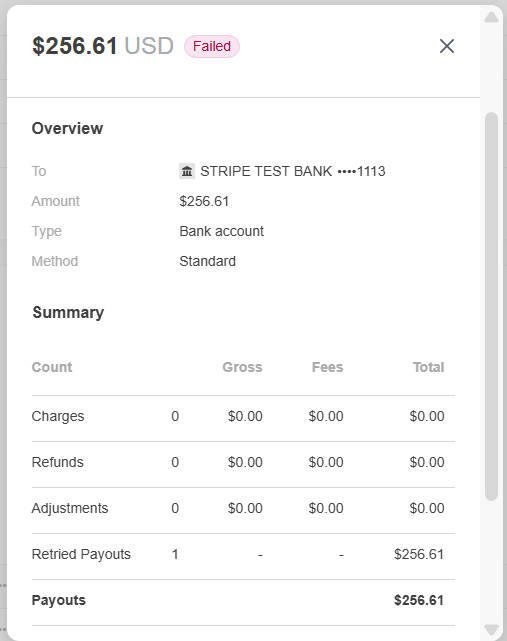
→ Click an entry to view details:

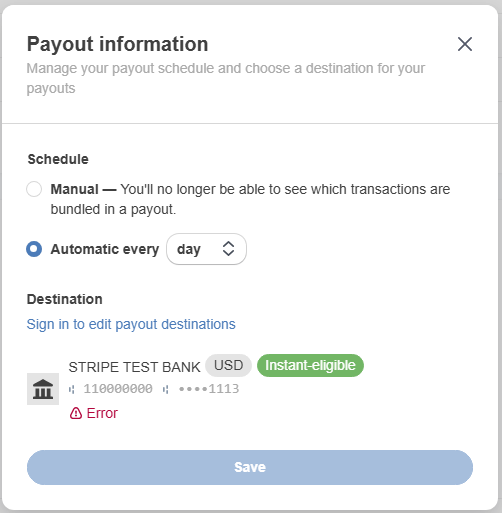
→ Use the available update options to adjust payout-related settings—such as payout schedule/timing or bank account details.

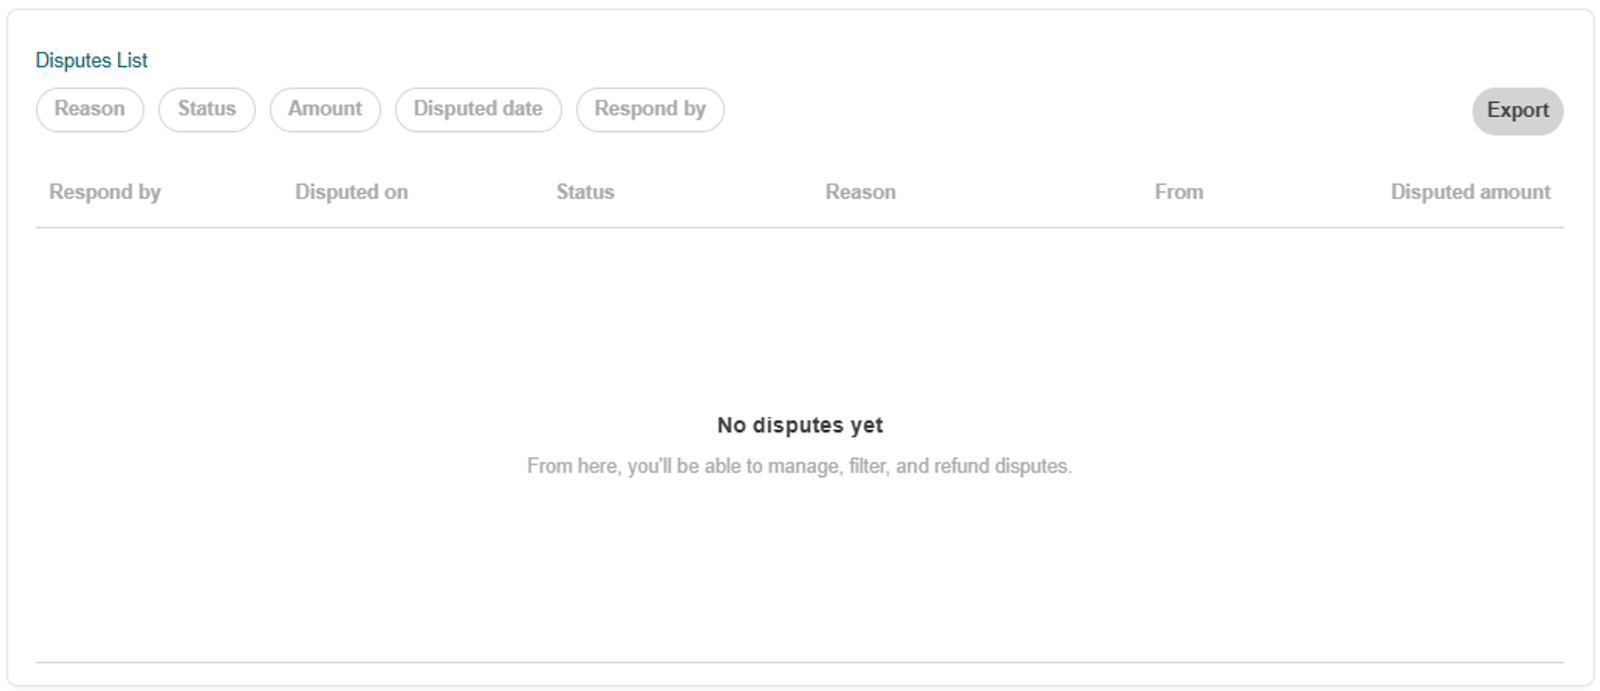
Disputes (if available)The Disputes section displays chargebacks or payment reversals initiated by a cardholder or financial institution. Use this section to:
- View dispute status and related transaction details
- Identify whether additional action or documentation is required

Note: This section may be empty if no disputes have occurred.
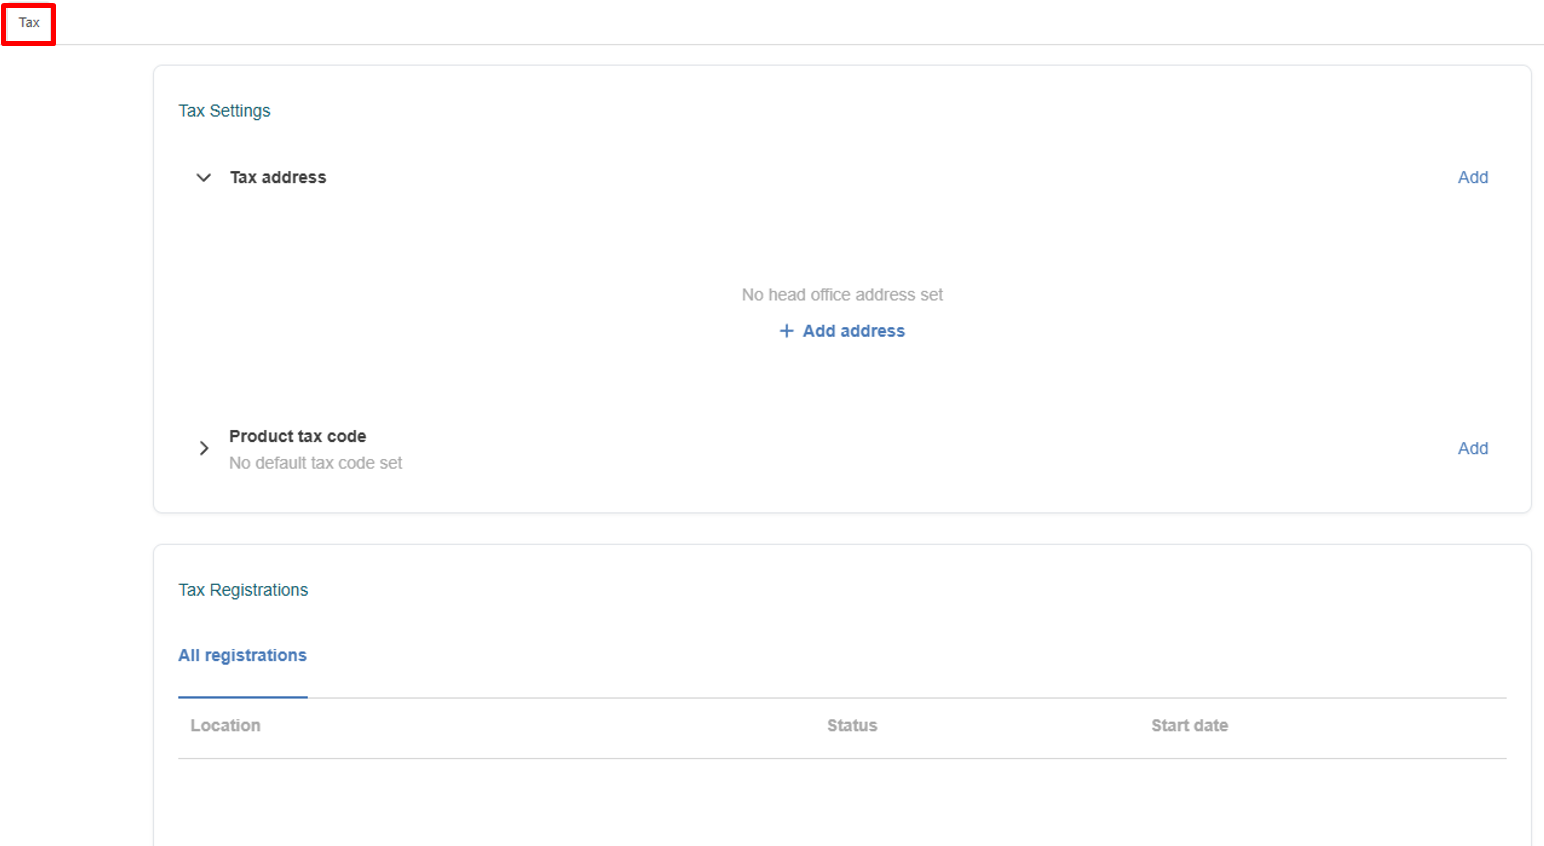
- Step 4 — Review Tax Settings (If Enabled)
The Tax tab includes Stripe’s tax-related components, such as:- Tax Settings
- Tax Registrations
→ Use this section to review tax configuration and support year-end reporting requirements, as applicable to your practice.

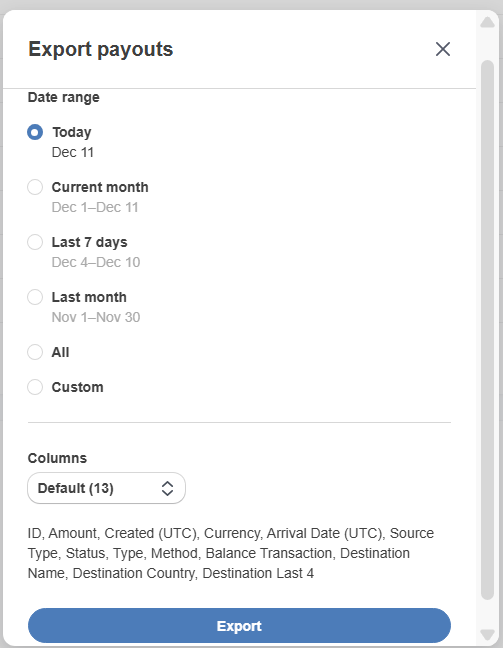
- Step 5 — Export to CSV (Optional)
If you need to analyze your data outside the Stripe Dashboard, you can export your Payments, Payouts, or other reports to a CSV file.To export:- Go to the section you want to download (e.g., Payments or Payouts).
- Click the Export button at the top right.
- Apply any filters you need—such as date range, status, or amount.
- Confirm the export.

Tips for Daily Use
- Check Notifications each day to catch issues early
- Use Payments to confirm patient balances or processed charges
- Review Payouts during reconciliation or month-end close
- Keep an eye on verification reminders to avoid payment disruptions
- Check Disputes regularly (if your practice accepts card payments)
- Review Tax tab when preparing year-end reporting (as applicable)

Still no luck? We can help!
Contact us and we'll get back to you as soon as possible.
Submit a Request