Patient Photo Capture using MobileMD
Securely capture patient photos within the workflow. Photos are stored directly in the patient’s chart as part of their medical record—supporting identification, documentation, and continuity of care.
STEPS
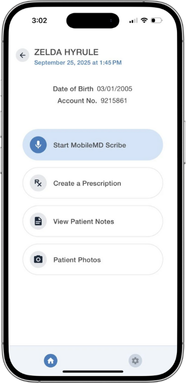
Open a patient profile by tapping their name in the Today’s Appointments list or by using the Search function.
1. Tap Patient Photos
2. Tap Capture to take a photo
3. Review, add tags, then Submit
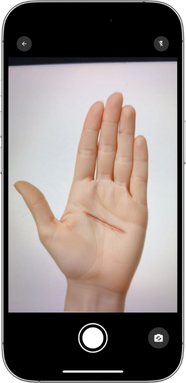

4. Retake or delete the photo if needed.
5. Upload to EHR

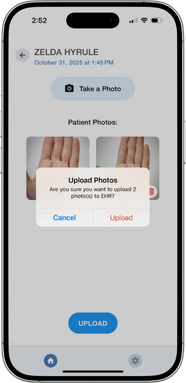
- Upload up to 8 photos per patient encounter.
- Photos are saved directly to the patient’s record in EMR Notes.
Accessing Patient Photos in EHR
The Patient Photos feature in MobileMD allows providers to capture, tag, and upload patient images directly into the EMR.
- Log in to the EHR.
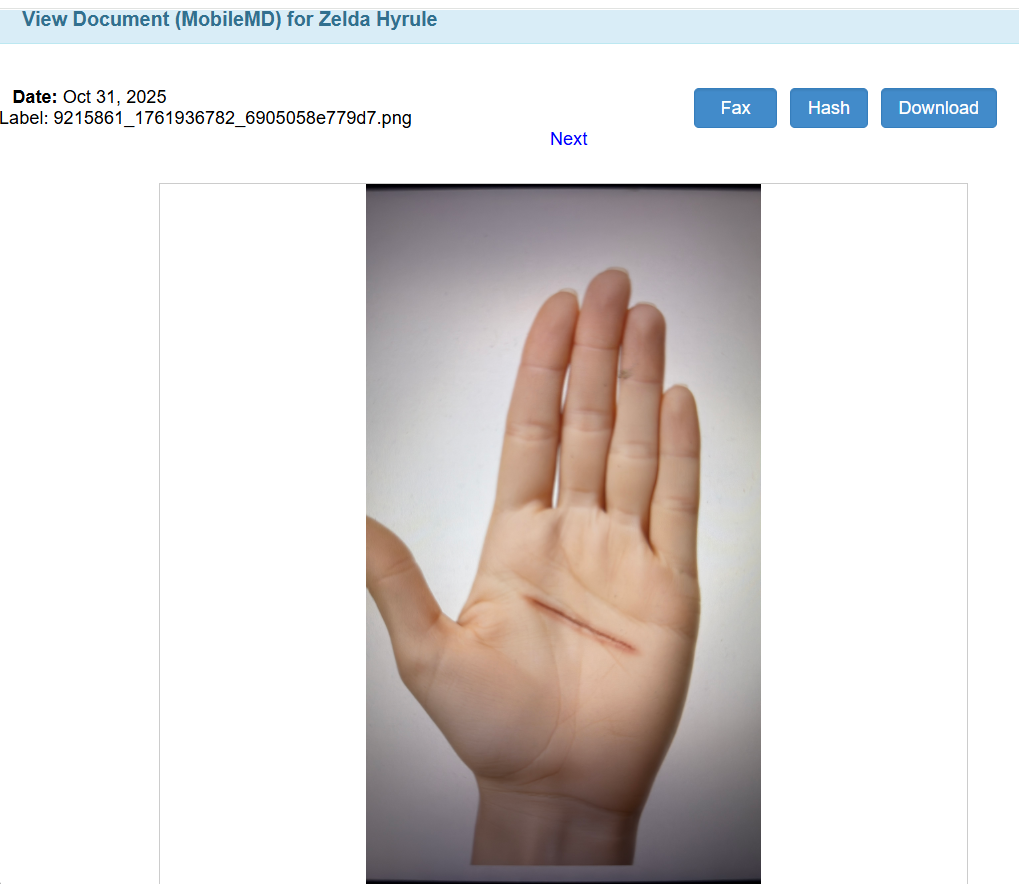
- Go to Today’s Appointment List → right-click the patient’s name → EMR All Notes.
- Open the Documents section → Mobile MD to view photos for the encounter.
- Click the filename to view the photo.

- View photo details or download.
For a downloadable PDF version of this guide, click here.

Still no luck? We can help!
Contact us and we'll get back to you as soon as possible.
Submit a Request