Welcome to VIP Access
VIP has exciting new features!
- If your organization has enabled it, your location appears in push notifications.
- You can add, delete, and manage all of your credentials in one convenient wallet.
What is VIP Access Push and how does it work?
VIP Access Push sends a notification to your mobile device that you can use in place of a security code.
Your organization must have enabled VIP Access Push.
- If your organization has implemented a “Numbers Challenge” capability, enter the numbers shown on your Sign In screen in the push dialog.
- If your organization requires you to define an additional device authentication mechanism to meet the security requirements, you will be prompted for the additional local authentication such as passphrases or biometrics.
- If your device is Touch ID or Face ID enabled and your organization supports it, you can approve the notification with your biometrics.
The VIP Access Push feature only works for registered software tokens like the VIP Access App.
How to set up your VIP Access App token with the VIP Push feature?
![]()
Step 1: Download the VIP Access App onto your smartphone.

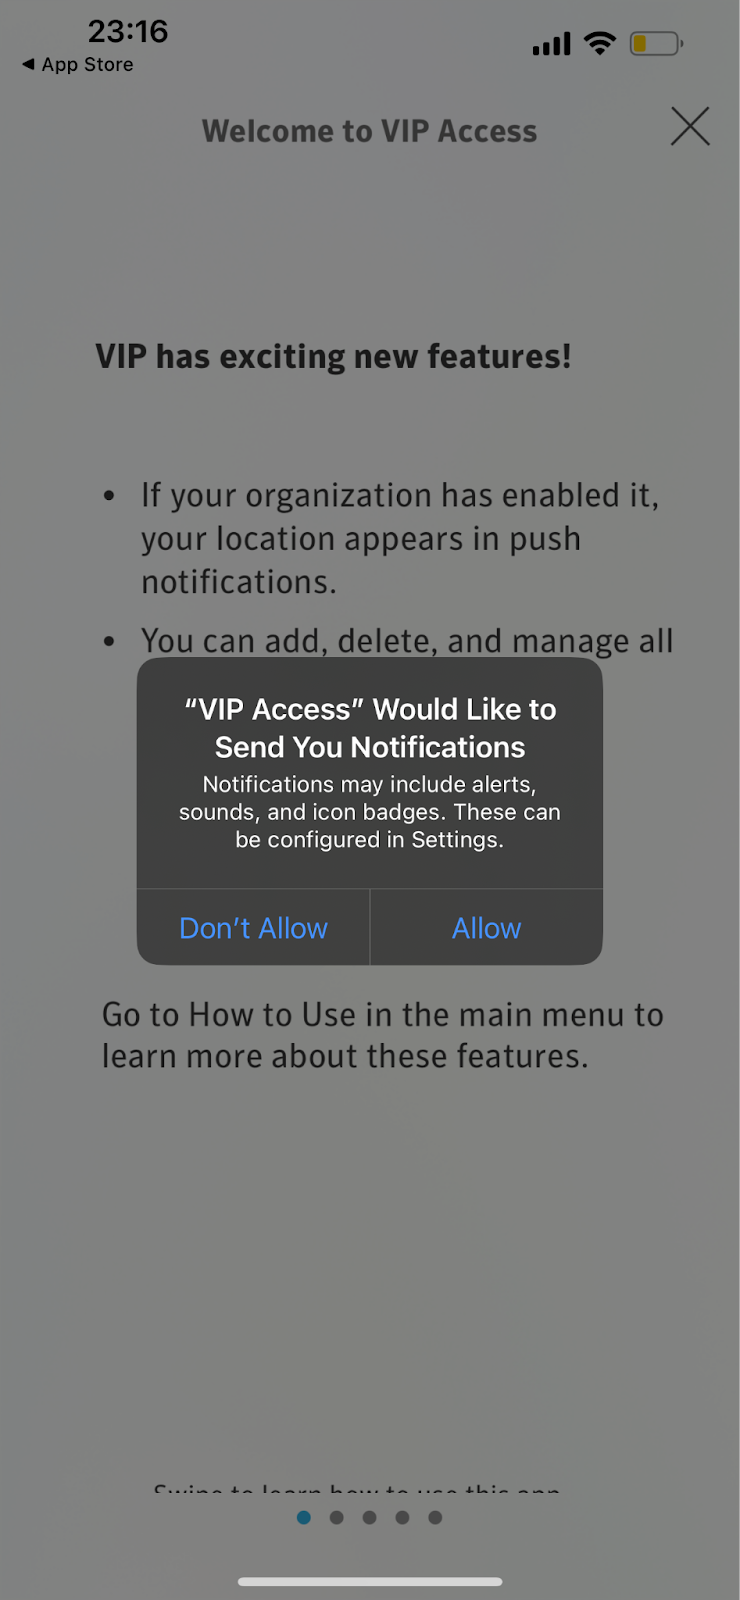
Step 2: When opening the VIP Access App, allow the app to send you notifications. Click Allow.
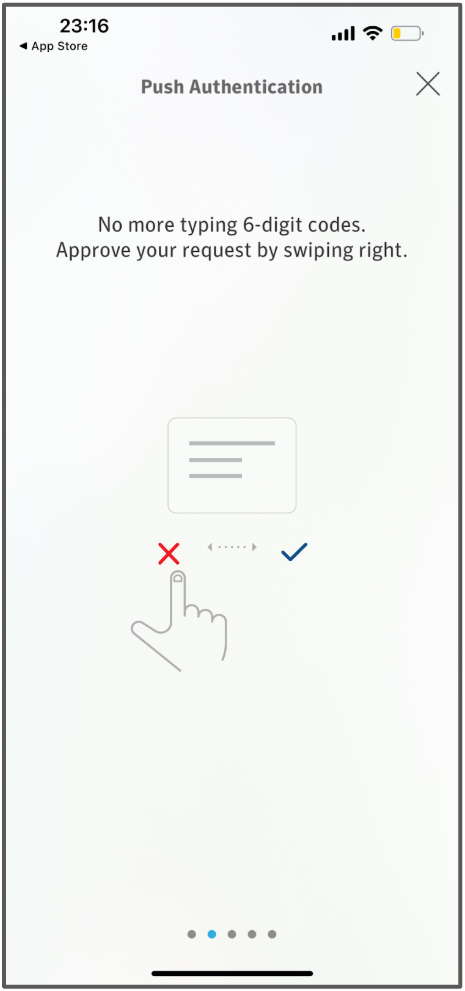
Step 3: Swipe right to approve and securely access your online accounts.
Step 4: Register your software token and complete your EPCS Setup. Please refer to the EPCS Setup and Workflow Instructions.
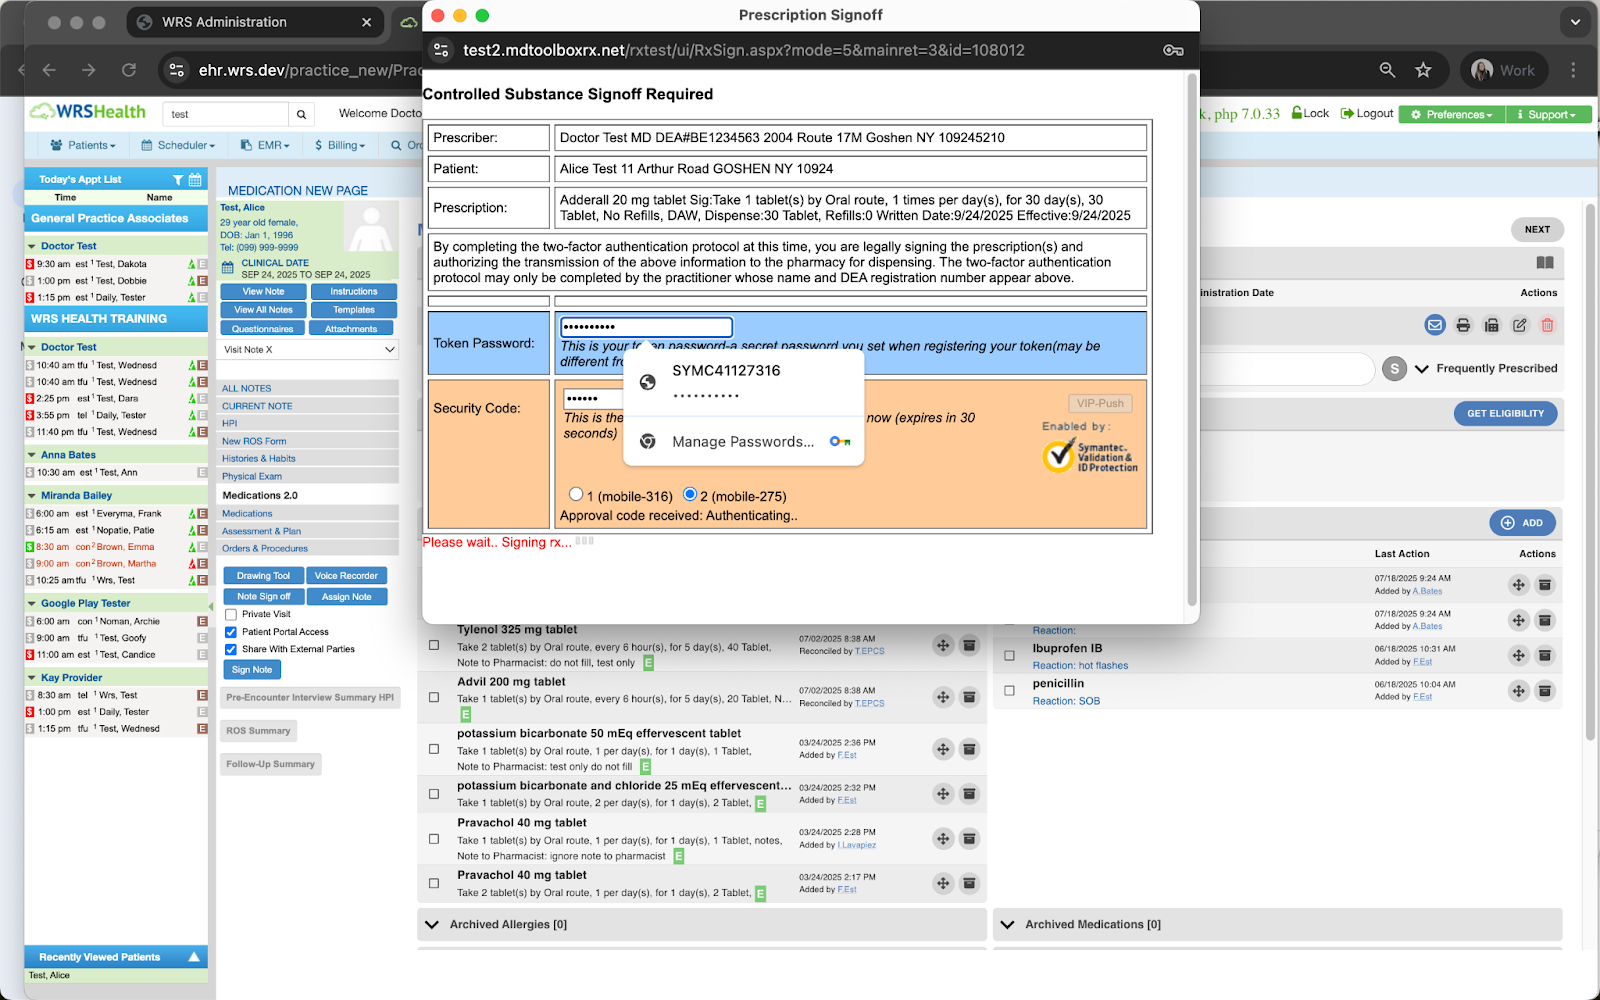
Step 5: Create and send controlled prescription/s through the EHR.
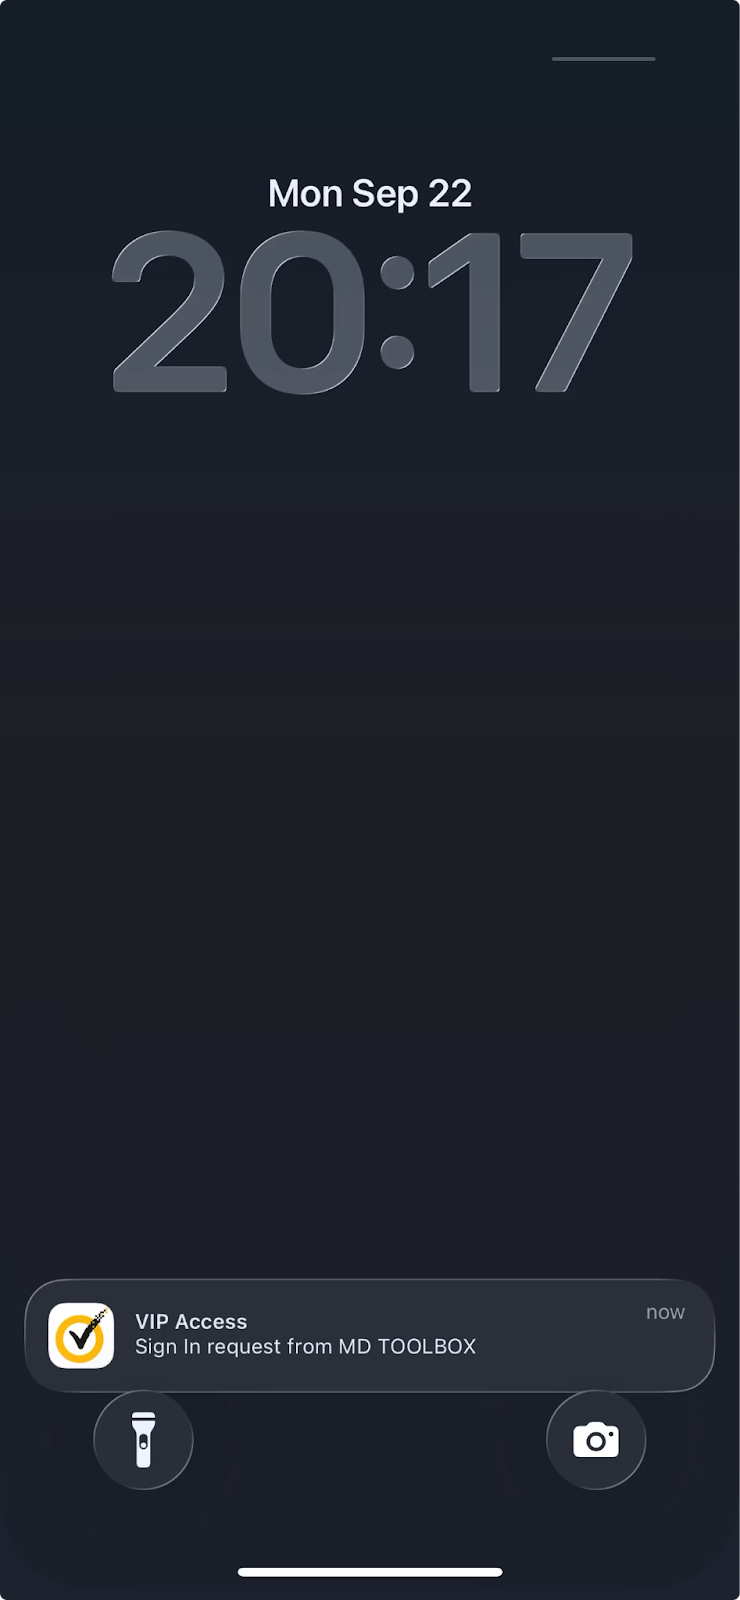
Step 6: Click the VIP Access Push notification on your mobile device.
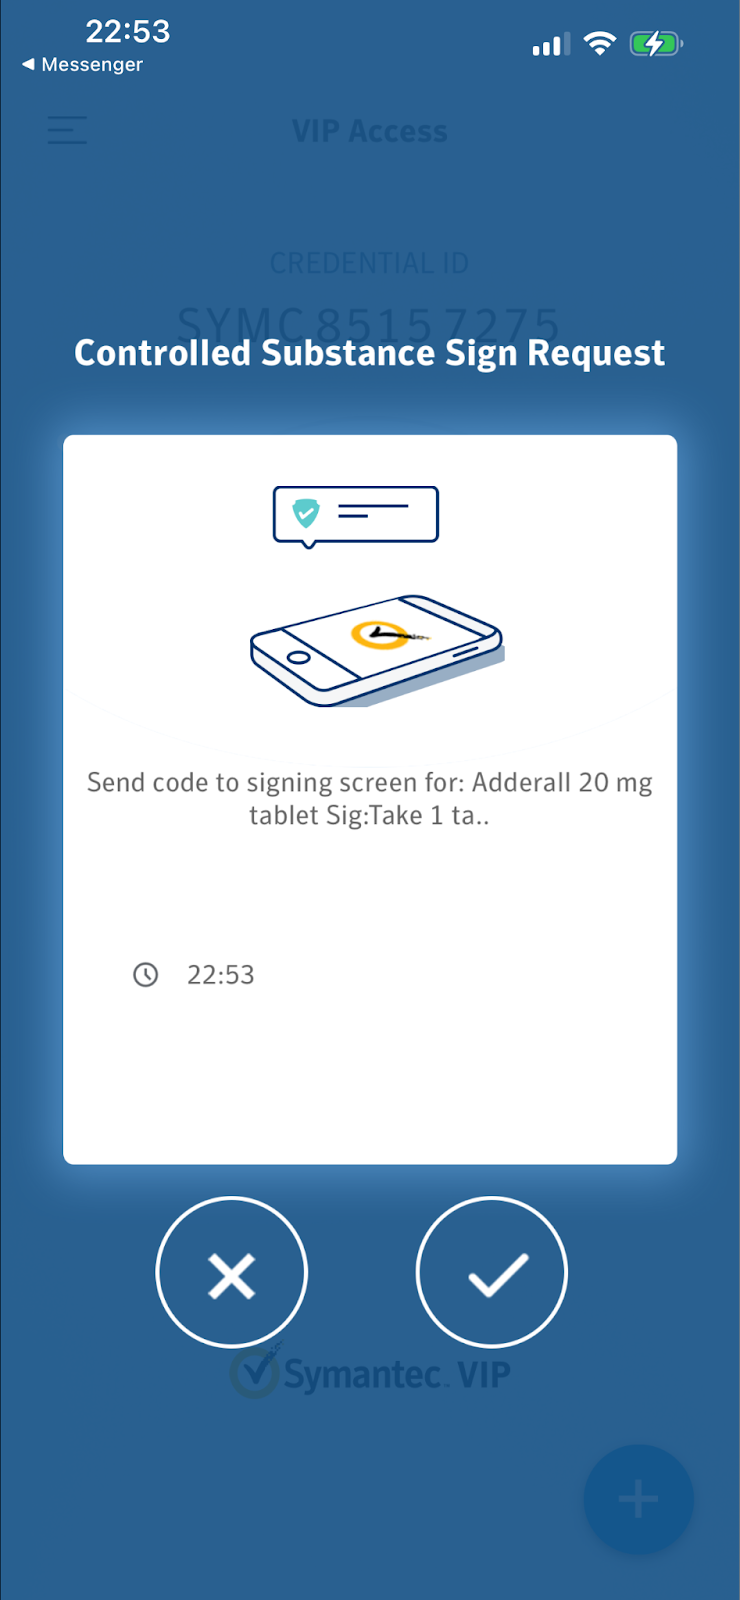
Step 7: Swipe right to approve and sign the Controlled Substance Sign Request. Click the X icon to deny the authorization.
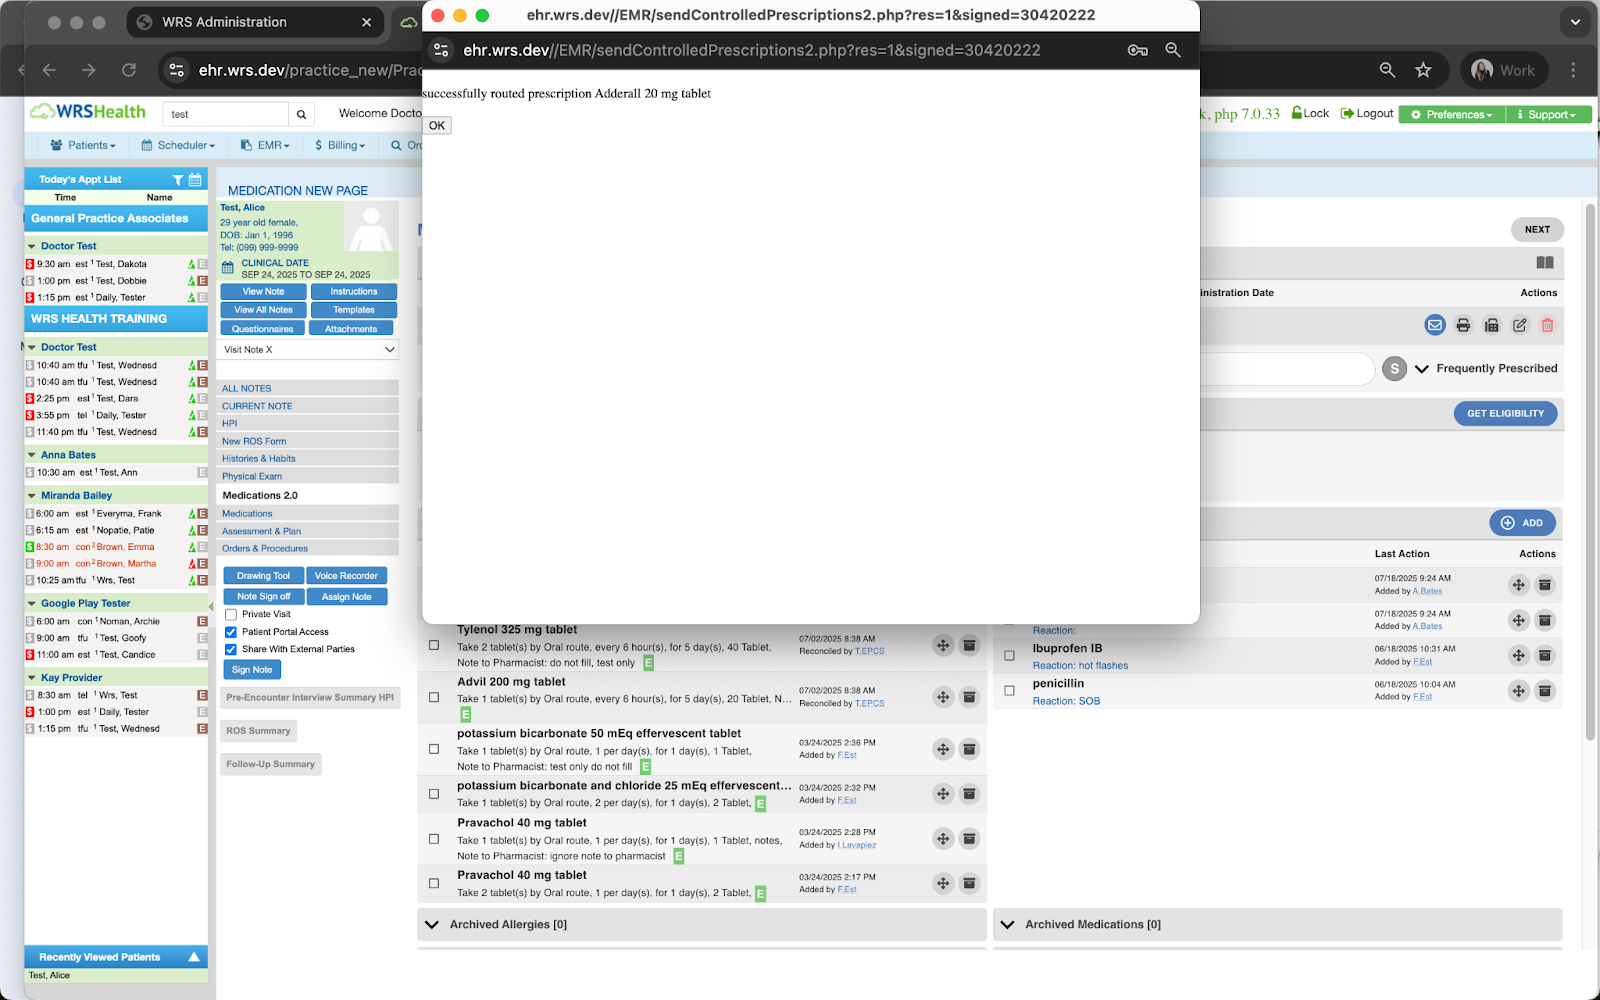
In the EHR, the Prescription Signoff page will show the confirmation message that the controlled prescription has been routed to the pharmacy successfully.

Still no luck? We can help!
Contact us and we'll get back to you as soon as possible.
Submit a Request